personal tasks
Cloning myself(Adobe Premiere Pro)
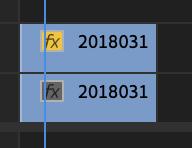
1) First I recorded two videos of myself in the same shot. I made sure I wasn't in contact in either video. I then dragged both clips in to Adobe Premiere Pro and moved one of them above the other so that the two would play at the same time.
2) To check that my clips didn't have my-selves in contact with each other I selected the top clip, went to effects and controls and clicked opacity. Opacity can make things go transparent. Using the opacity tool I was able to see the second clip come through and check if everything was fine for me to edit. I returned the opacity to 100% after resetting it.

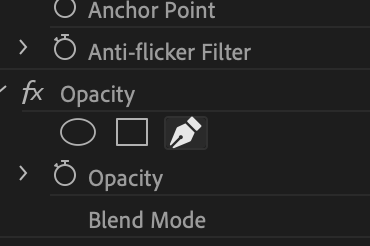
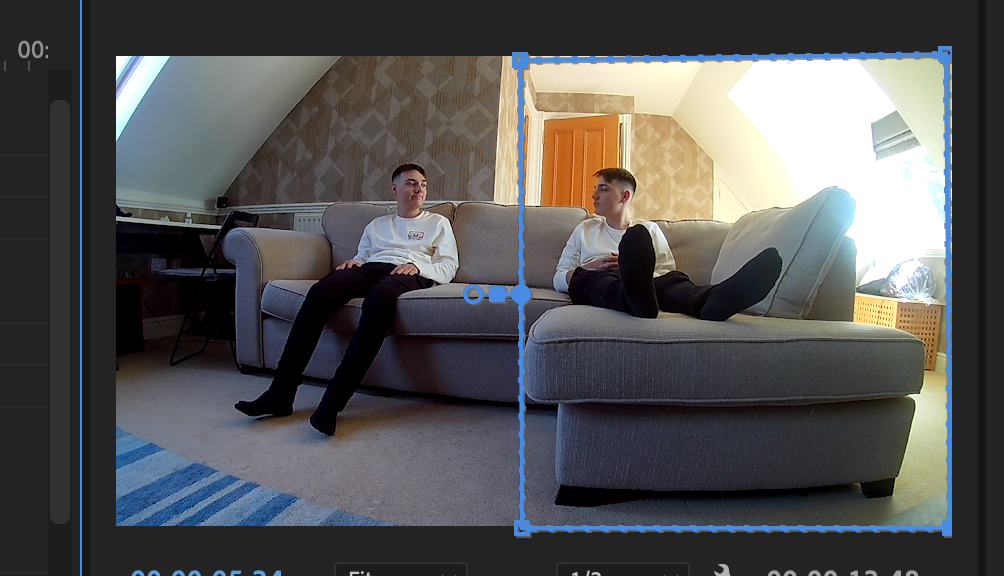
3) To Make both clips appear in the video I used the 'free draw bezier' tool. Selecting the clip above I selected the tool in effects and controls. Using the tool I clicked points around what I wanted to be seen in the final video. So I made a square around myself in the first video.
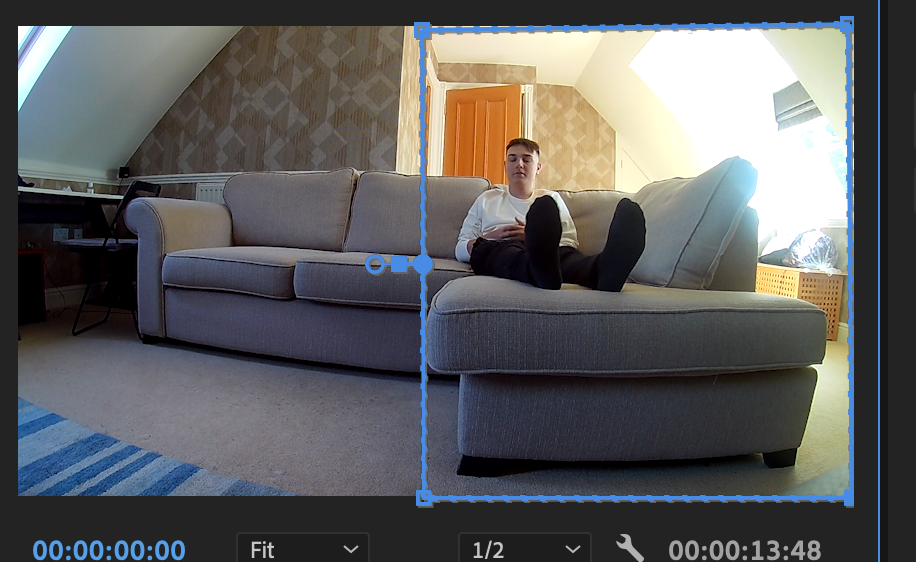
4) After connecting the two videos together I noticed a noticeable issue. There was a shadow Where I cut the two videos together (in the centre of the video).
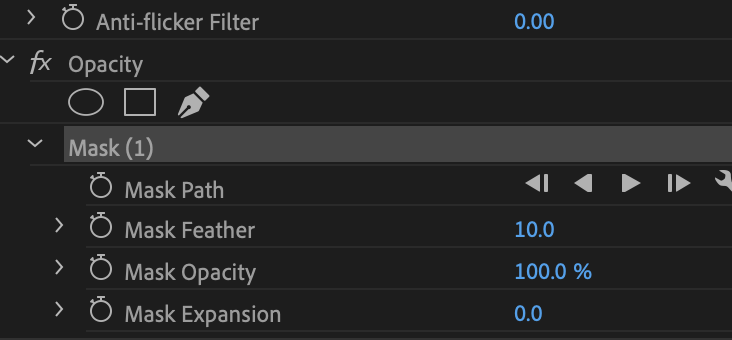
To fix this issue I used a tool in effects and controls called 'masked feather'. This allows me to behind the shadows so they can't be seen and the video looks normal. The reason why this grey outline is caused in the first place is because it's the shadow of my figure in video 1.
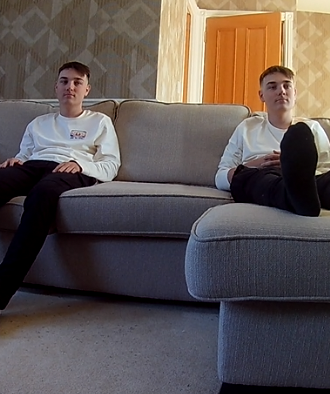
This is the video of my clone experiment:
Tracking (Adobe After Effects)
1) First I recorded myself moving my hand around around. I will be using my hand as the tracker for this task. Then I right clicked on the time sequence and clicked null object.
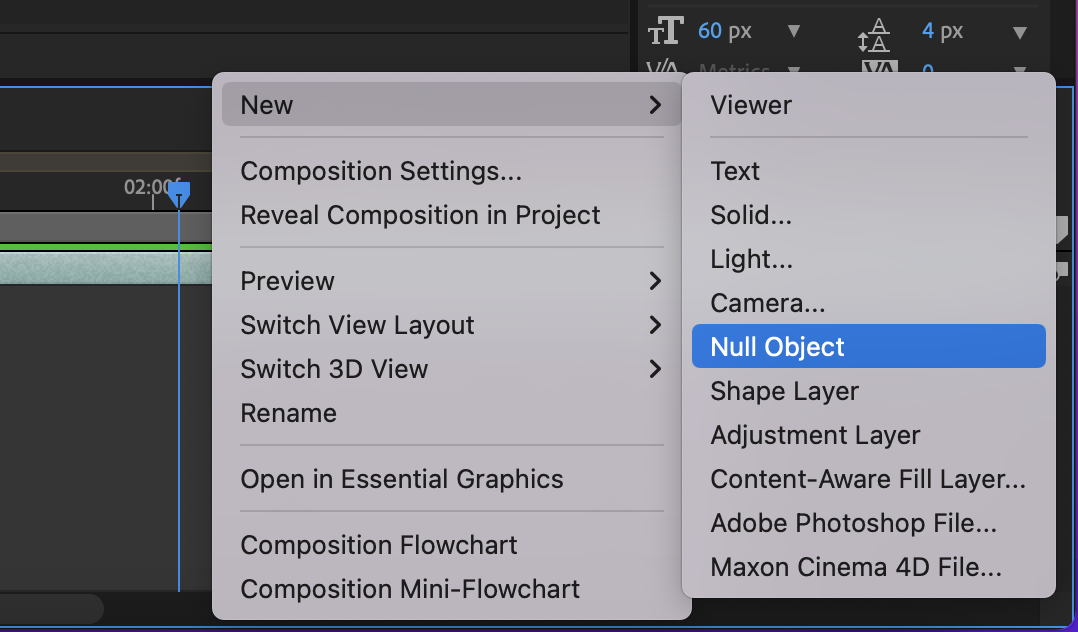
2) after adding a new object I dragged in the video I recorded of myself. Next I selected the null object on the time sequence.
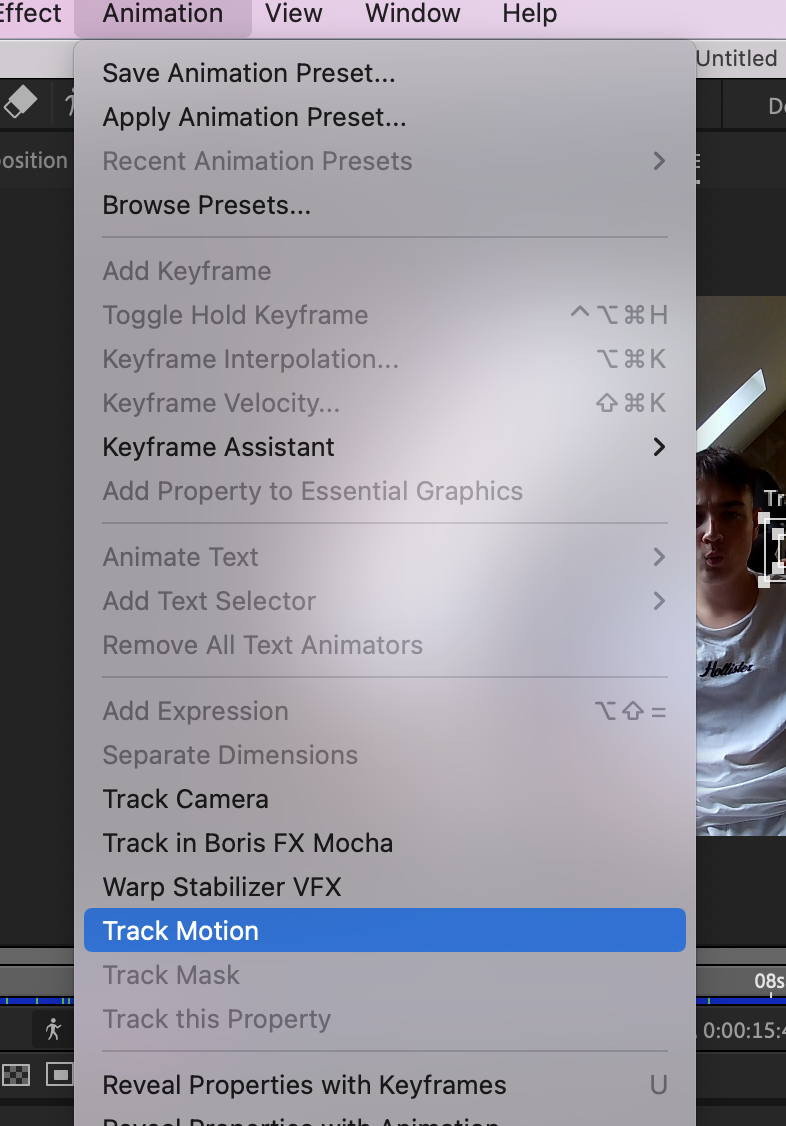
Then I went in to animation and selected track motion. This popped up the controls for me to and track my image. It also made a square box which I could move around, I moved the box on something I wanted to track in this case I used my finger. By hitting apply on my controls the program would track my finger.
The tracking system wouldn't always work though so I had to go to the frame where the tracker went off my finger and replace it. Then I would click analyse and do this until the video ends.
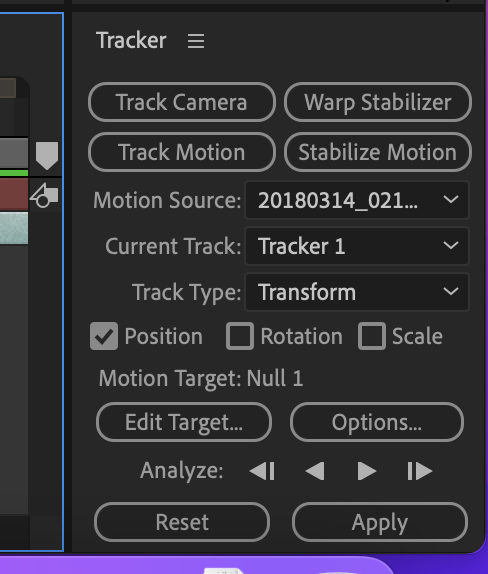
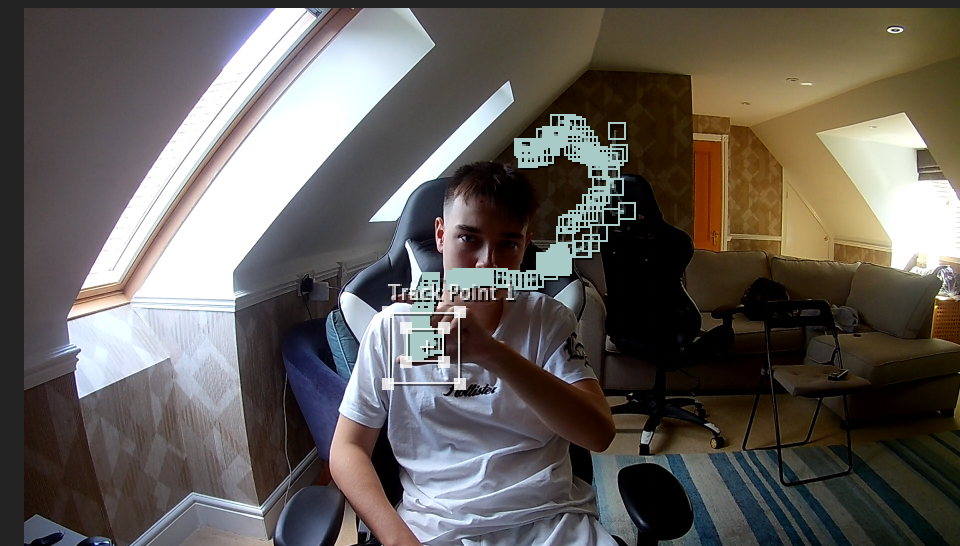
Then I added in an image of Bracknell and Wokingham's college logo to after effects. Finally I used the parent pick whip tool linking the college logo with the null 1 object.
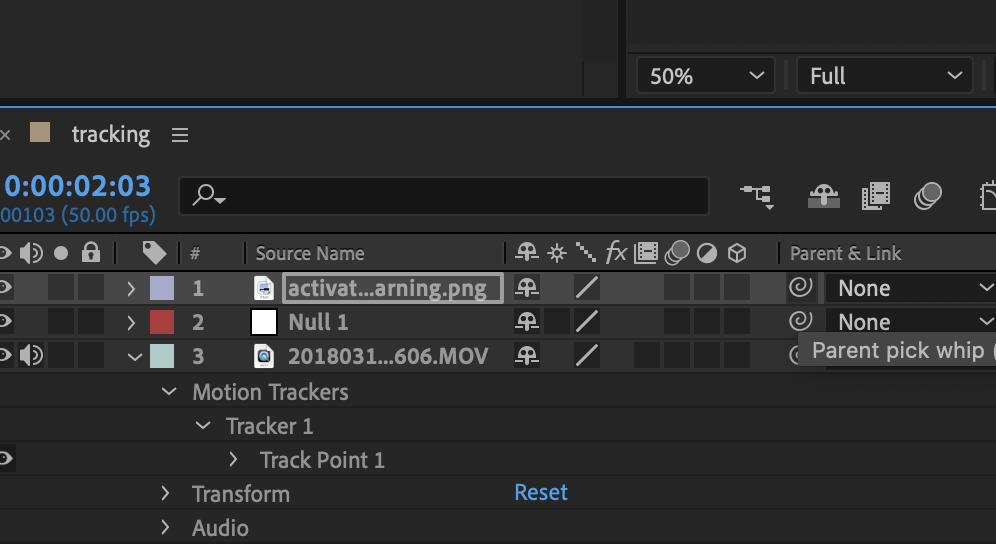
This is how I made a video of my finger being tracked by the logo of my college.
New animation tool - Stable diffusion
This is a new animation maker that I found. It isn't an engine or an app. It's a server that I'm able to connect to after downloading various zip files. I found out about it after trying to find more effects and tools to use for Adobe on youtube.
It changes images based on what your description of the image is. It's really easy to use and I'm still trying to use it more and more so that I can see how well it will work for my music video if i choose to use it. Because the server only changes images I will have to convert my videos in to a PNG sequence format and make it a stop animation. Luckily because I'm doing a music video having no sound in this won't matter. The only downside when using this is that it takes a while to download it all and put it together.
Stranger things world task
For my music video I want to make it seem like the viewer is looking at a different world. I found a cool tutorial on youtube showing how to make it look like you're in a place called 'the upside down' from a show called stranger things. I made this on Adobe After effects.
I used the same footage as the YouTube to test the effect out. I really liked this and I think the outcome came out pretty well. Next time I won't make the colours as harsh to make it darker. I will definitely use this in my project, I think this effects will definitely help me out with trying to introduce another world in to my music video.
This effect is really easy to do it just involves applying a few effects to adjustment layers. I found myself skipping past half of the video as the majority of it explains how to make the roots to go with the atmosphere but I didn't want to copy the stranger things look completely so I decided that I wouldn't add that. When going through the youtube video I recommend skipping to 9:53. I found myself working through the video but the main effect I wanted came after this time period. I want to include this style in the majority of my shots in my music video so having done this now as a practise will help me when it comes to the post production editing of my footage. I this will look really good at the location I want to film at. When filming in the woods I will have to be careful when changing the brightness as it will probably already be dark.
Some cool effects I learnt that I haven't previously used is the curves and exposure tool. They were used in the majority of the actions in this video. Curves would help change the colouring and the exposure would change how strong the colours were. Tint was another effect that changed the colour of the footage. I used all three of these to make the dark cloudy skies as well as the lightning.
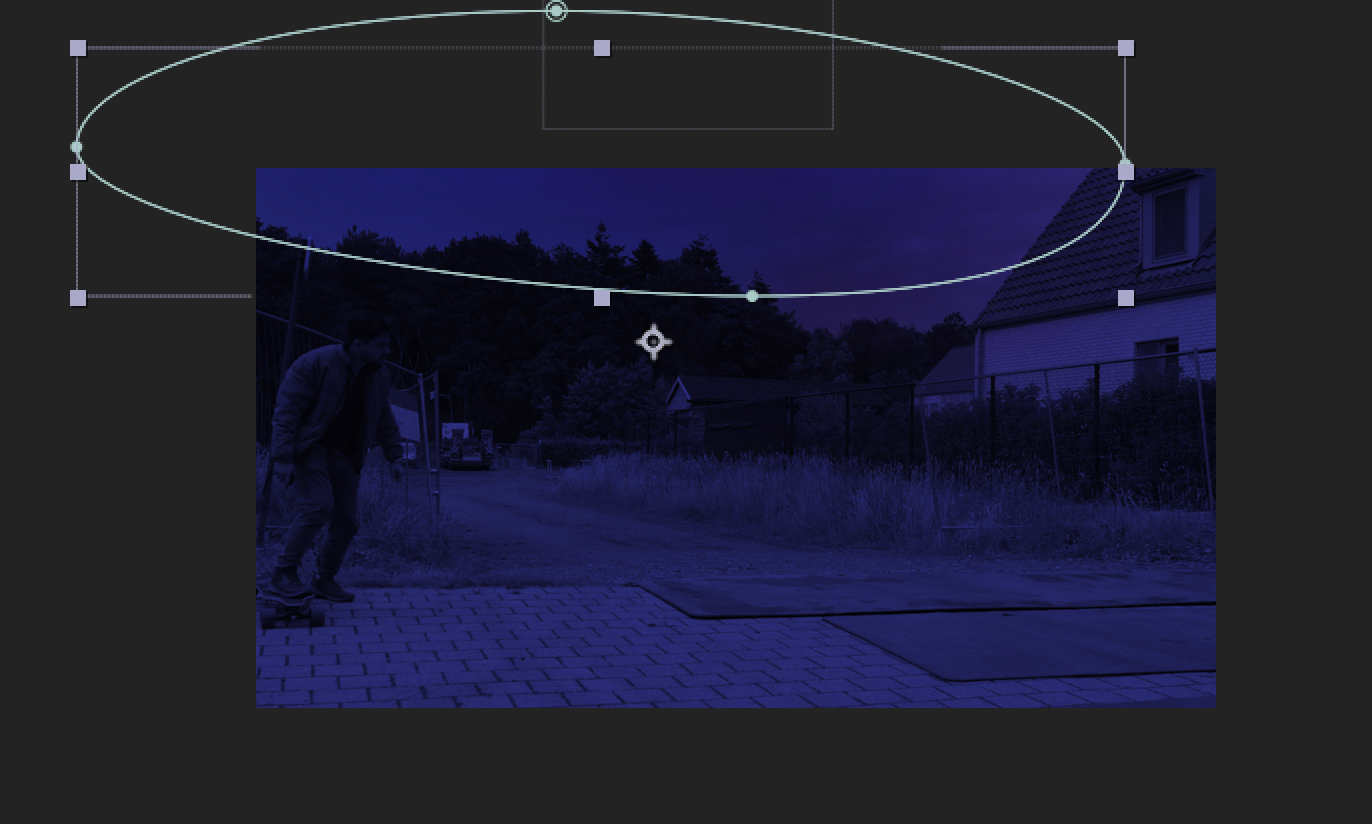
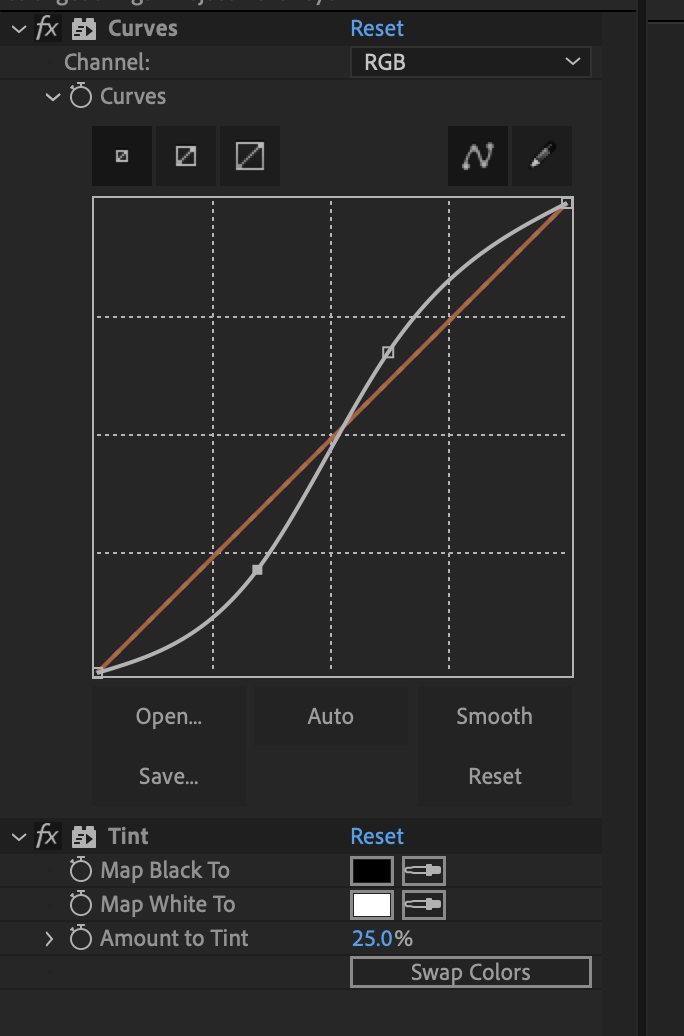
Under 'curves' the line can be changed so that it makes the visuals look darker or brighter. The exposure will bring out the colour of the visuals, this is what I used for the clouds to glow and fade back. If you follow the tutorial video of this effect you will see the YouTuber using this effects quite a lot.